Wednesday, May 2, 2012

Not What I Wore...

**Okay ... It's RAINING outside, like stand in the shower fully dressed raining... which when I got home today I had to peel off my clothes - the only dry spot was 2 square inches at the ankle of each pant leg... which were inside of my rain boots (they do no good when filled with water). I was also wearing my North-face Shell, but that didn't help, since it was raining slightly sideways.

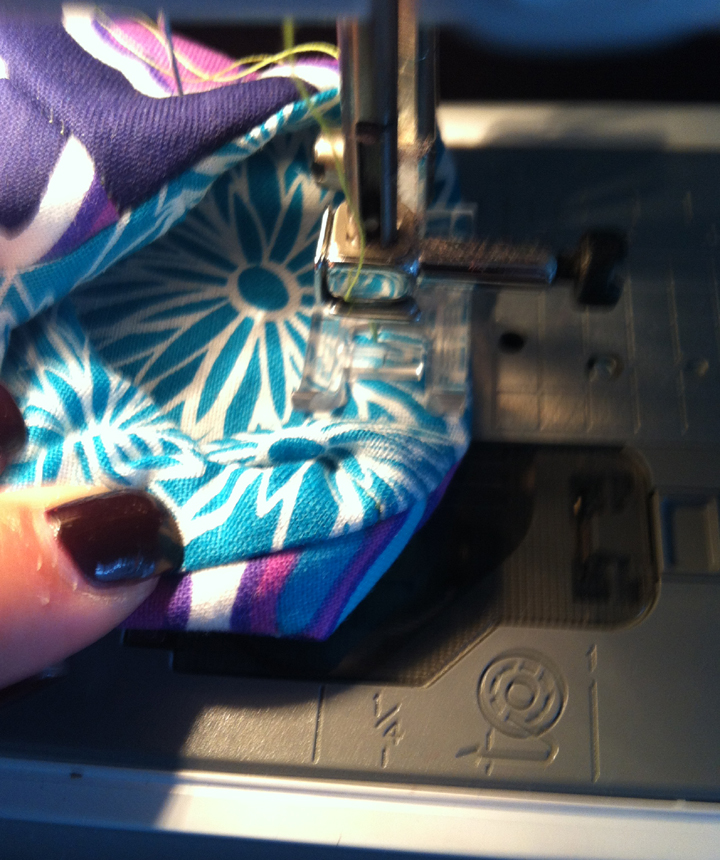
Alas, I am home, showered and in sweats... I have some wonderful AMAZING friends coming to help me get things organized for my craft-fair set up tomorrow - so while I sew, they will be doing tags, bags and what not.  Also, I bribed them with P.F. Chang's take out, and am soooo excited about that!


But since it's Wednesday, thought I'd give you an outfit...  Yes, it was definitely a sexy Tuesday up in my apartment! The hair, not working for me, the skinny jeans (only clean thing I had), the shirt, well it's the Beatles so that automatically makes it pretty awesome.


Tuesday, May 1, 2012

Tutorial Tuesday: Sunglasses Case


Welcome to the first Tutorial Tuesday over at ArtsyAnthropology!  Today's tutorial is super quick, and turns out pretty darn cute!  You can use scraps for it as well, so it makes a great use out of what you have lying around.

What you will need to make a Sunglasses Case:

You will need: 
2 pieces of fusible lining 9X5 inches (yes it's spelled wrong in the picture...)
2 lining pieces 9X5 (if using scraps, just has to be 9X5 finishes)
2 outer pieces measuring a total of 9X5...
I used 2 outer pieces: 3.5X5 and 6.5X5

Place the lining pieces, right side together, sew along the long sides. You will leave 1 end completely open, and sew the corners of the "bottom" edge, stopping where I left the red lines (squint to see them), so that you will be able to turn the whole piece right-side out when you're done.

Sew your two front pieces together so that you end up with 2 pieces that are 9X5, then iron flat. Then iron on fusible lining.

I sewed along either side of my fabric seam, this not only adds flair, but helps to secure the lining. It's entirely up to you how fancy you get with this... I do not have "mad skills" and thus made it simple.

Turn your outside pieces, right-side together and sew all the way around 3 sides, leaving the "top" completely open.

Now, turn your lining piece right-side out, and stuff into your outside pieces - you should have the printed side of both fabrics facing each other.

Perfect. Now, if you can get this to somehow fit in your machine, you're golden. You will sew all the way around the top of your case to stick the lining to the outer fabric. 

Now it will look like this...

Pull the whole piece right-side out using the hole you left in the bottom of the lining... once this is done, sew the bottom of the lining shut.

Stuff the lining down into the bag, and sew a final edge around the top (this helps everything stay put).

And, drum roll, you now have your completed sunglasses case. It's cute, practical and super easy to make!

See they just plop right on in there. If you want to get all fancy you can secure the top with a button, snap or even Velcro


I would love you see what you all make - leave links to your photos in the comments! Hope to see you next Tuesday...and if you have a tutorial you would like to share, please feel free to do so!


LinkWithin

Related Posts Plugin for WordPress, Blogger...